

Isn't this just about the cutest quilt ever? I think every baby and mommy would love to receive this as a blankie. I choose this size specifically for a baby quilt (34 x 45) but you can make it as big as you want.
Here is the square detailing. Which the next few steps will show you how easy it really is to do.

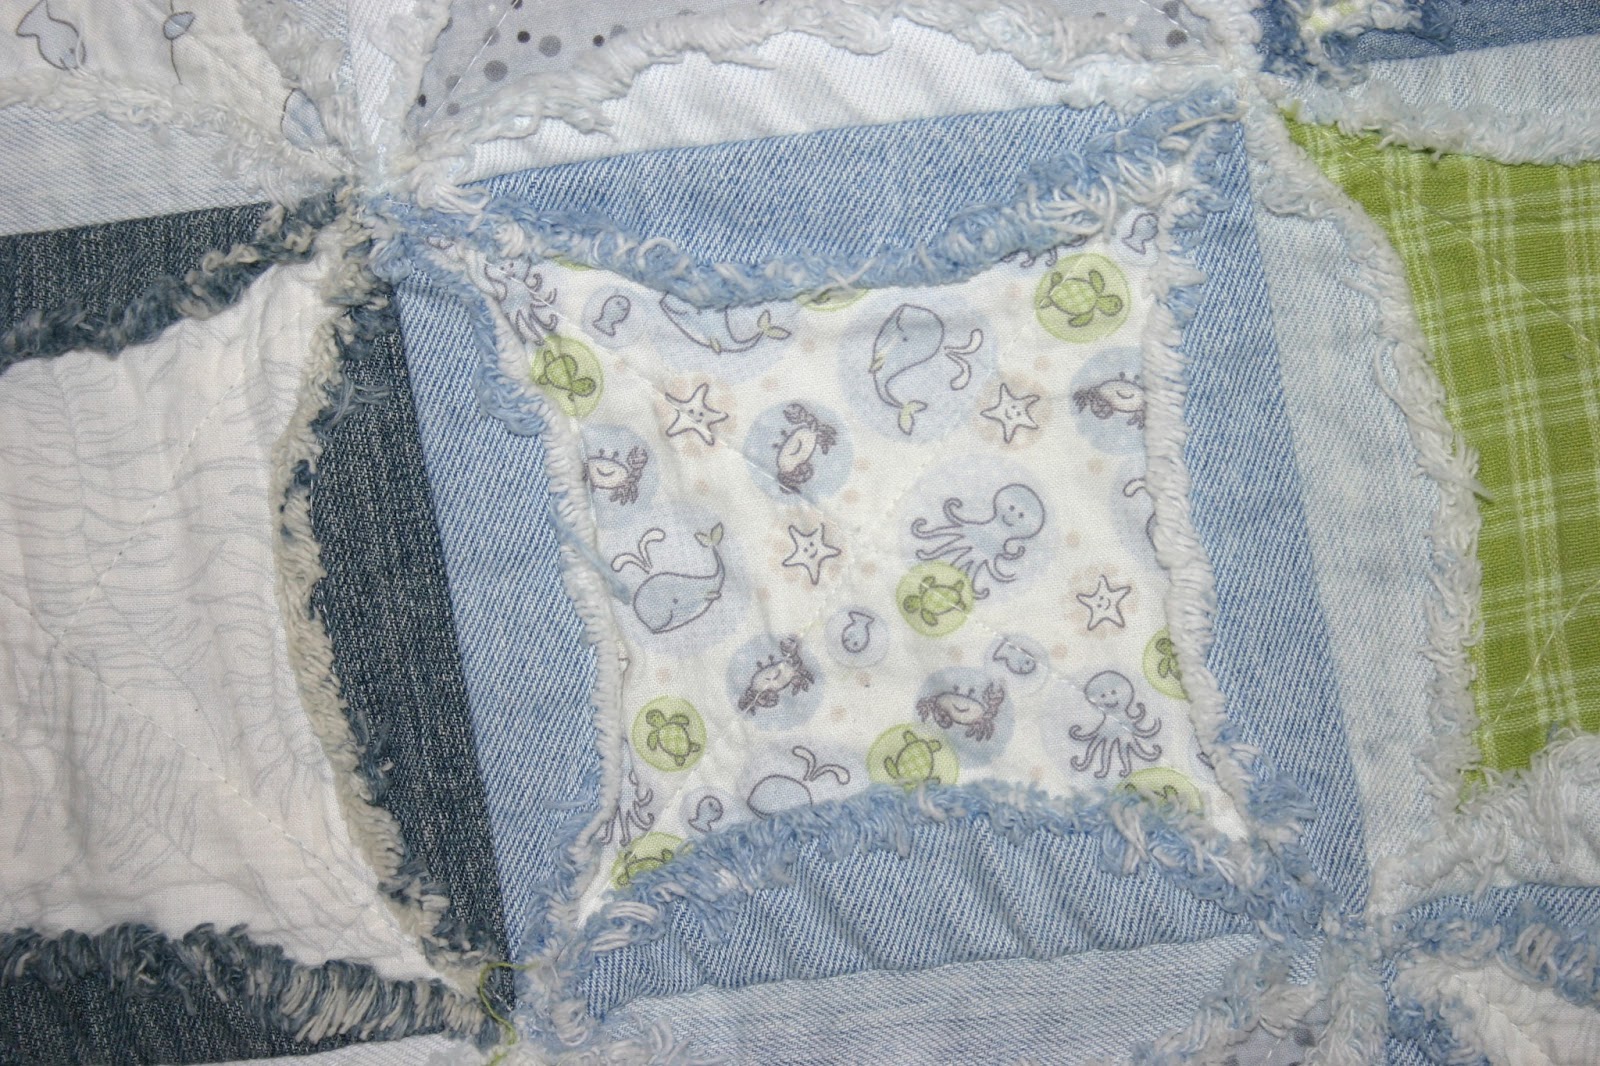
Here is the back detailing...I love the different colors of jeans. I saved up all of the old jeans from my hubby and cut them up.

First thing you will need to cut your circles. Mine were 8 inch circles. I just used a manilla folder. measured 8 inches on the fold and from center I measured 4 inches in. Cut out and got an 8 inch circle.

This is now my template to cut all my circles. My quilt is 6 blocks across and 8 blocks down. I needed 48 circles.

Next I cut my fabric. I used six different kinds of fabric. ***The fabric in these photos is purely for the tutorial photos. Not used in quilt.*** The reason I used six fabrics was to make it easy to make sure no two fabrics were next to each other. Since I had 6 blocks across...6 fabrics. You will need to cut 48 squares at 5 1/2 inches. You will also need to cut your batting at 5 1/2 inches. I used warm and natural batting. It is warm not bulky.

Now that you have to work all done the fun begins. You will first lay out your quilt. I layed all my circles with the fabric inside the circle (you will see your fabric will lay corner to circle edge) out and placed them where I wanted to them to go. I then joined the circles and and squares by making sure the circles lined up and the corners of the squares lined up.

Sew them along the edge of the square about a 1/4 inch in to catch the fabric and batting. Continue to join all the circles in each row until you reach the end (mine was six).

Imagine that my photo above has more circles. Now stack your rows on top of each other in the pattern you like. If you laid them out before hand just lay them back in the rows. Now you will join the rows where they are not together. Just pin them the same way. Edge to edge and corner to corner.

Once the quilt is attached to each other, you will need to iron down your flaps. Yes...it is important.

Next you will sew in an "S" pattern along the edges of the flaps. Start on one side and sew along the edges all the way down the length. Once at the edge, leaving your needle in the quilt re-direct your sewing to go up the other side of the same flaps. Continue until you get all the flaps sewn. First up and down. Then side to side.


Next you will sew the crosses in the squares. You will start at one corner and sew at a diagonal until you get to an edge. Then leave your needle in and re-direct your sewing across another area. Continue until you have all your crosses in the squares.

Last put a side seam on the edges. You are almost done...you now need to wash and dty it to get the edges to fray. If hope you understand these directions if not leave a comment and I will try to help out.


No comments:
Post a Comment